
Product Category
New Arrials
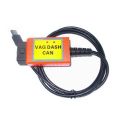
VAG Dash CAN V5.14
US$129
Enquiry Now
LAUNCH OBD2 CODE READER CREADER V
US$49
Enquiry Now
Scania VCI 2 Truck Diagnostic tool
US$850
Enquiry Now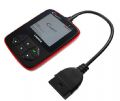
Free shipping LAUNCH CReader VI
US$89
Enquiry Now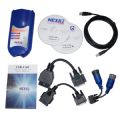
NEXIQ 125032 USB Link + Software Diesel Truck Diagnose Interface and Software with All Installers
US$585
Enquiry Now
launch x431 solo
US$650
Enquiry Now
Home › Products › Automotive diagnostic tools › BMW Multi-Charger 1200W 14V/85A ICOM OPPS OPS Programming
BMW Multi-Charger 1200W 14V/85A ICOM OPPS OPS Programming
BMW Multi-charger 1200W 14V/85A Icom OPPS OPS Programming

BMW Multi-Charger 1200W 14V/85A Icom OPPS OPS Programming
This Programmer not support 110V, but 220V
Product Specification and Operations Guide:
Important Safety Tips
1. Remember the following instructions
This manual as a Safety and Operation Guide for battery charger for Multicharger 1200.
2. Charger should avoid affected by blizzards.
3. The use of non- recommended or sold by the battery charger manufacturer of accessories , may result in fire, electric shock or injury to persons.
4. In order to avoid damage to the plug or wire , pull the plug when disconnect the plug , do not drag the wire.
5. Not to use extension cords as much as possible, or improper use may cause a fire or electric shock.
Must be used , should ensure that:
Socket pins (the number, the size and the shape) on extension cord should be consistent with the socket pin on the battery.
Extension cords should be properly wound and maintain good conductive properties.
Wire diameter charger rated AC current fitness.
6. Do not use when cord or plug is damaged---Replace damaged wires and plugs immediately.
7. Do not use when charger damaged , as was a heavy blow , or drop , etc. Give it to the AC professional service personnel to repair.
8. Do not disassemble the charger, repair should be carried out by a professional service person.Assembled incorrectly may result in a fire or electric shock.
9. Should pull the plug before maintenance or cleaning , so as not to cause a fire or electric shock. Even if the shutdown can not reduce the occurrence of such risks
10.Be careful -- Explosion gas around the lead acid battery is dangerous. Battery during normal operation will produce explosive gas, so you should read the manual before each time you use the charger, and in strict accordance with the content of the manual operation.To avoid battery explosion , observe the battery manufacturers and equipment around the factory manual . Check the products and engine warning symbol.
11. Personnel precaution
When operating near the lead acid battery , should someone echoes around , in order to provide emergency aid measures.
Should amount of water or soap be available nearly to prevent battery acidic substances in contact with skin , clothing or eyes,
Wear goggles and protective clothing to avoid contact with the eyes , when the battery is operating near.
If the battery acidic substances in contact with skin or clothing , wash immediately with soap and water . If the acidic material is splashed into the eyes, immediately rinse with running water for at least 10 minutes , and seek medical treatment immediately.
No smoking near the battery or the engine to avoid spark or flame.
Special attention to metal tools should not be placed on the battery , otherwise it may produce sparks or cause the batteries to short-circuit or other electronic components , which led to the explosion.
The individual wearing metal products, such as rings , bracelets , necklaces , watches , etc. should be removed in the operation of lead acid batteries , lead acid batteries may produce short -circuit current , high - intensity current rings and other metal jewelry may melt , causing serious burns.
Only use the charger for lead acid battery charging . In addition to the starter motor may not charge to low-voltage electrical system . Battery charger may not be used for household dry battery charging , otherwise it will lead to dry cells burst , causing personal injury or property damage. Do not charge a frozen battery.
12. Preparation for charging
1) Shall battery charge from the car to win , you should remove the battery backplane . Please ensure that all parts of the car is at a standstill , so as not to cause the spark.
2) Charging the battery should be ventilated to ensure that the surrounding environment . Using cardboard as a fan, or a nonmetallic substance generated gas blown off during the charging process.
3) Clean the battery terminals , be careful not to erode the eyes.
4) Distilled water was injected to the cell , so that the battery acidity reaches a predetermined level by the battery manufacturer , and conducive to remove excess gas within the battery . Distilled water shall not overflow . If the battery without cover should strictly abide by the battery manufacturers recharge help.
5) Standards of the special tips and suggestions about battery manufacturers , such as whether or not to go charging cover and the amount of charge.
6) Reference to the vehicle owner`s manual to determine the battery voltage , output voltage selector switch is set correctly . If the the charger charge level adjustable , should be set to the most low-grade.
13. Charging location
Away from the charger to the battery , within the range allowed by the DC line , the farther the better. Shall not be placed in the charger , the gas generated by the battery will damage the charger rechargeable battery. Read the specific gravity or distilled water to the battery Note shall drip the battery of acidic substances in the charger.
Charger may not be used in the case of a closed environment or no ventilation.
Shall not be placed on the battery charger.
14. DC connection precautions
1) Only in charger switch is turned off , and the AC cord disconnected from the socket before connecting or disconnecting the DC switch.
2) 15 ( 5 ) , 15 ( 6) , 16 ( 2 ) , and 16 ( 4) provides that connected with the clip and battery and backplane
15. The battery in the car , follow these steps . Doing so can cause the battery to avoid battery around the spark explosion
1) Fixed AC or DC line in the appropriate position , to reduce the risk of the engine parts of the engine hood, doors or moving damage to the wire.
2) Away from the fan blades may result in injury , belts , pulleys or other parts.
3) Check the battery terminals . Battery positive (POS, P, +) usually have a diameter greater than the negative ( NEG, N , - ).
4) Determining the electrode connected with the base plate . Connected to the negative electrode and the base plate , see section 5 ) Description ( most models for the negative connection ) ; positive and is connected to a backplane , see section
5) For negative connection models , the positive electrode of the battery charger clip (red ) and the battery positive (POS, P, +) is connected to the positive terminal of the battery that is not yet connected with the base end of the line ; battery charger negative clamp ( black ) and connected to the bottom plate of the battery or the engine block . Shall not be connected to the carburetor , tubing or body sheet metal , should be connected with the frame or engine block thickness of the metal part .
6) Models for anode connected , connecting the negative electrode of the battery charger clip (black) and the battery negative electrode (POS, P, +), i.e. are not yet connected to a pole ; clip (red) and the battery and the positive electrode of the battery charger of the bottom plate or is connected to the engine block . Shall not be connected to the carburetor , tubing or body sheet metal , should be connected with the frame or engine block thickness of the metal part .
7) Disconnect the charger , turn the switch off , disconnect the AC cord , remove the clip on the car floor , and then remove the battery end of the clip.
8) See the instructions about charging.
16. The battery is not in the car , follow these steps . Doing so can cause the battery to avoid battery around the spark explosion
1) Check the battery terminals . Battery positive (POS, P, +) usually have a diameter greater than the negative ( NEG, N , - ).
2) Battery negative connected to an insulated wire, not less than 24 inches in length, and the AWG is 6.
3) Connected the charger positive clamp ( red ) to the positive terminal of the battery.
4) Person and insulated wire as far away as possible from the other end of the battery , then connect the negative charger clip to the wire end of away from the battery.
5) Not to face up battery while final connection.
6) Disconnect the charger important that they are connected in reverse order , first cut away from the battery connection.
7) The vessels battery should disassemble charging ashore . Need to be equipped with special equipment on board charging.
17. Grounded AC power line connection instructions
The charger should be grounded to avoid electric shock . A charger with wire grounding plug into the socket should be installed properly grounded according to local norms Ordinance .
Danger - -Do not replace the supplied AC cord or plug - If the plug does not match the appropriate outlet should be installed by a qualified electrician . Incorrect connections may cause
electric shock.
18. Connection with the acidic battery ,the rated voltage is limited to 14V.
Attention - the charger is only applicable to a rechargeable battery .
19. When the vehicle is in motion , can not run the charger.
Tags: en ,
Wholesale Top quality Iprog+ Programmer BENZ ECOM DoIP Diagnostic and Programming Tool, DSP3 Odometer Correction Tool, VAS 5054A, GM Tech2, Scania VCI3, NEXIQ 2 USB Link, SBB VAG Pro, DP5 , SBB Key Programmer, wiTech MicroPod II, vocom 88890300, Renault CAN Clip. The VAS 5054A is a universal diagnostic interface for the vehicles of the Volkswagen Group and all OBD vehicle systems from other manufacturers.
Related Items of BMW Multi-Charger 1200W 14V/85A ICOM OPPS OPS Programming
 Transponder Key VW-2
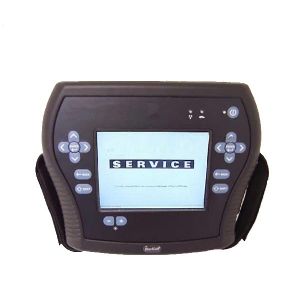 StarSCAN For Chrysler Engine Transmission Body...
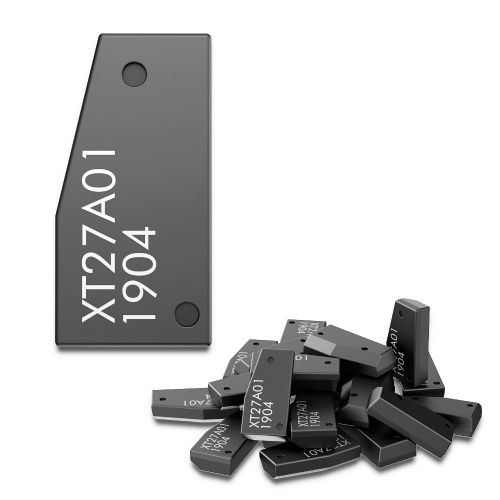 Xhorse VVDI Super Chip XT27A01 XT27A66 Transpo...
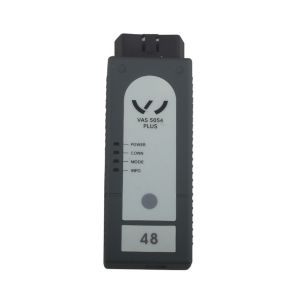 New ODIS V4.2.3 VAS 5054 Plus Bluetooth (AMB 2...
 Infiniti ID46 Transponder Chip
 Free shipping 2012 latest Alldata 10.50 2012 M...
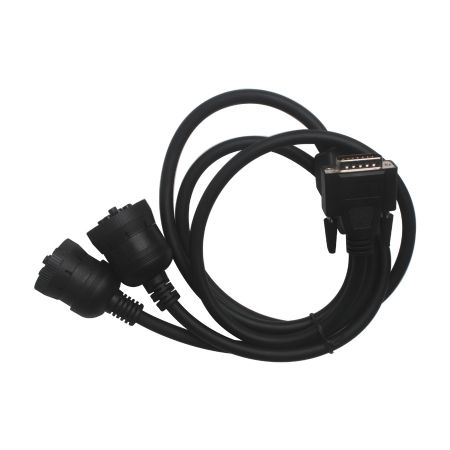 Main Test Cable Of CAT Caterpillar ET Diagnost...
 Citroen Remote Key 3 Button (without Groove)
